Materials
- Broomstick
- Acrylic gesso
- Blacklight paint
- Phosphorescent paint
- Glossy varnish
- Saw and sandpaper
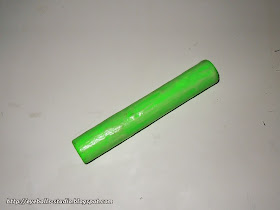
Well, not too much to say about it. They're just pieces of wood painted using green blacklight paint. I cut the broomstick into 15 cm long pieces; one broomstick was sufficient for 9 plutonium rods. I sanded the ends to remove any splinters and give it a nice rounded edge.
Before I painted them green, I gave them a base coat using white acrylic gesso. I didn't know how opaque the green paint was, and I didn't want to risk having the wood grain show through. Besides, it never hurts to use any sort of primer.
After it had dried I painted them using the green blacklight paint. As I feared, it was pretty translucent, and I had to apply several coats before I was satisfied with the color. After they had dried, I finished them with glossy varnish. The paint isn't waterproof, so this was a must.
After a quick test: major disappointment. The paint didn't work at all! It barely did anything under a blacklight! I searched Ebay for a better alternative: phosphorescent paint! A few days later it arrived in the mail, and I painted the rods with it. The paint was a true pain in the ass to apply. It was nearly impossible to apply an even coat, every single brush stroke showed up, so I had to apply lots of layers of paint. I just kept painting the rods until I ran out of paint. After that, again a few layers of varnish.
The result
Here's a picture of one of the fuel rods glowing after being exposed to a blacklight bulb. This picture was taken in complete darkness!
It also works with other types of light, but a blacklight works best. I've got two small blacklight bulbs myself. Looks pretty neat, and an advantage of the phosphorescent paint is that you can "charge" the rods over a blacklight, and they will keep glowing very brightly for a while.


Geen opmerkingen:
Een reactie posten